Let's get building! Here are the steps to getting started.
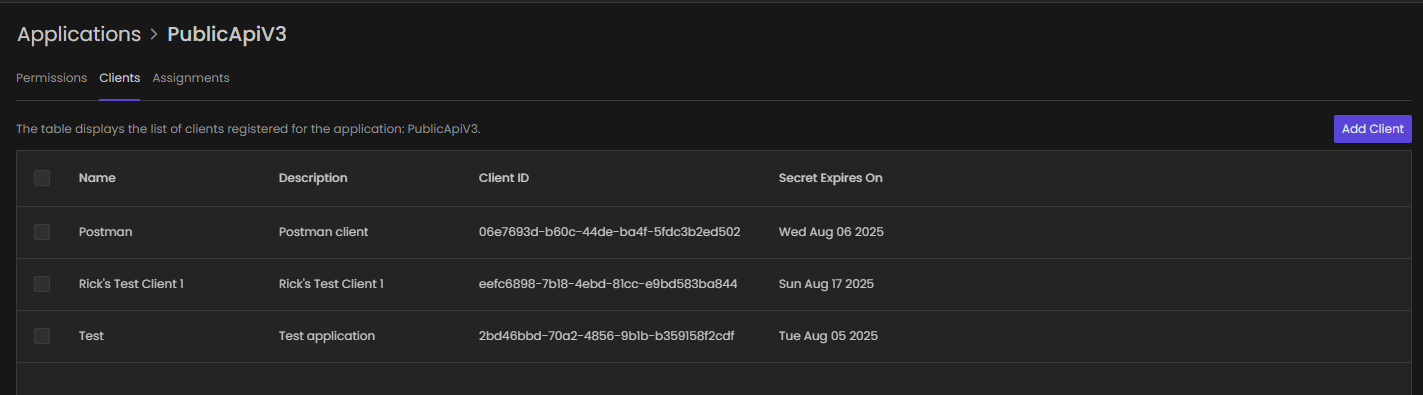
Navigate to the Applications page of the Willow User Management app and select Public API v3. On the Clients tab, select Add Client.
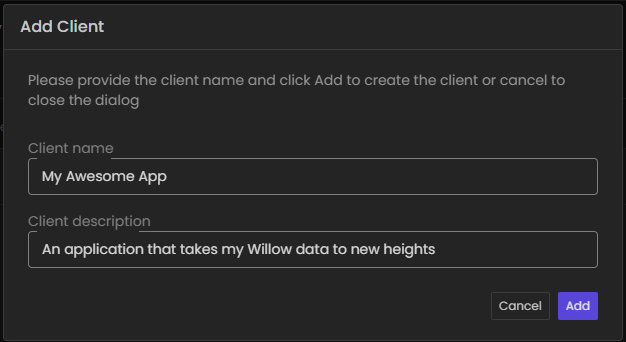
Complete the Add Client details.
Select Edit Client where you will see the Client Id. Next, select Generate Secret and the Client Secret will be generated. If an expiration was selected, the expiration date will also be shown. Be sure to copy both of these values as they will be used for authentication.
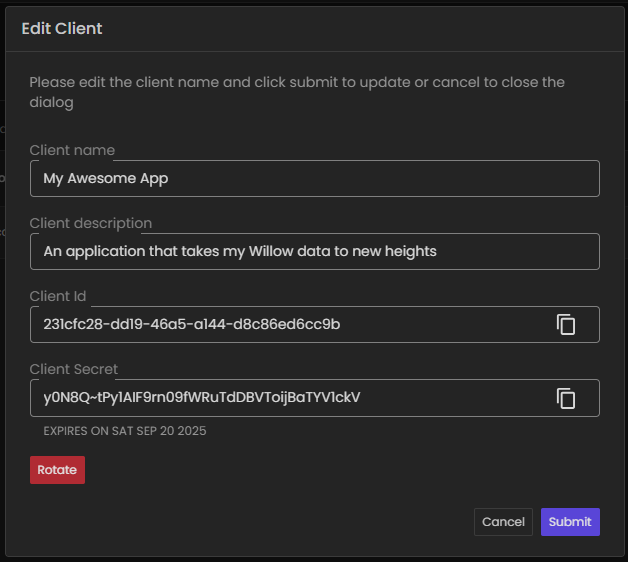
The Client Secret will not be visible again after leaving the Edit Client modal. If you have forgotten the secret, select Rotate to generate a new one.
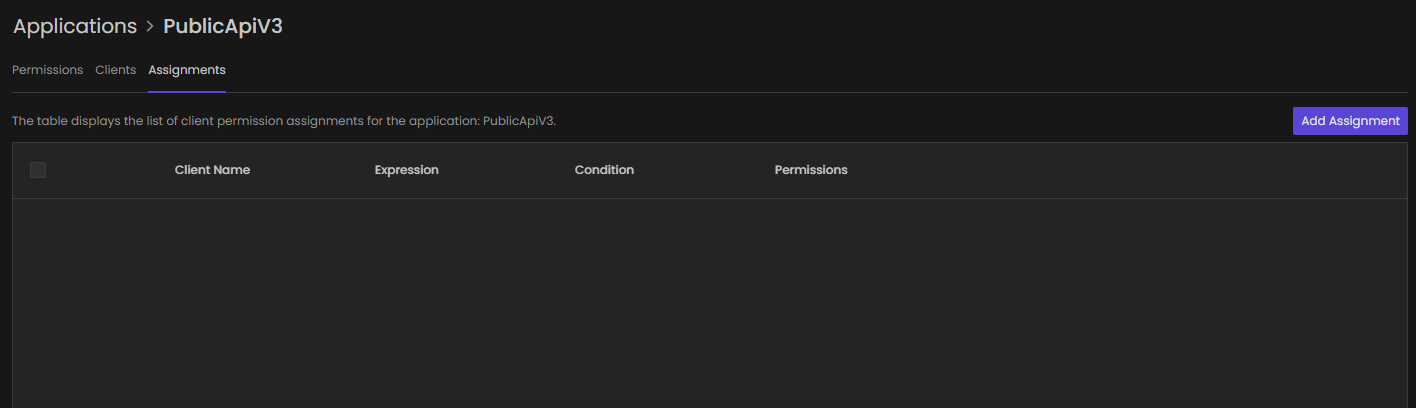
Now that we've created the Client Application and generated credentials, it's time to add permissions to the Client Application. On the Assignments tab, select Add Assignment.
Select your Client and the Permissions you would like to make available via the API.
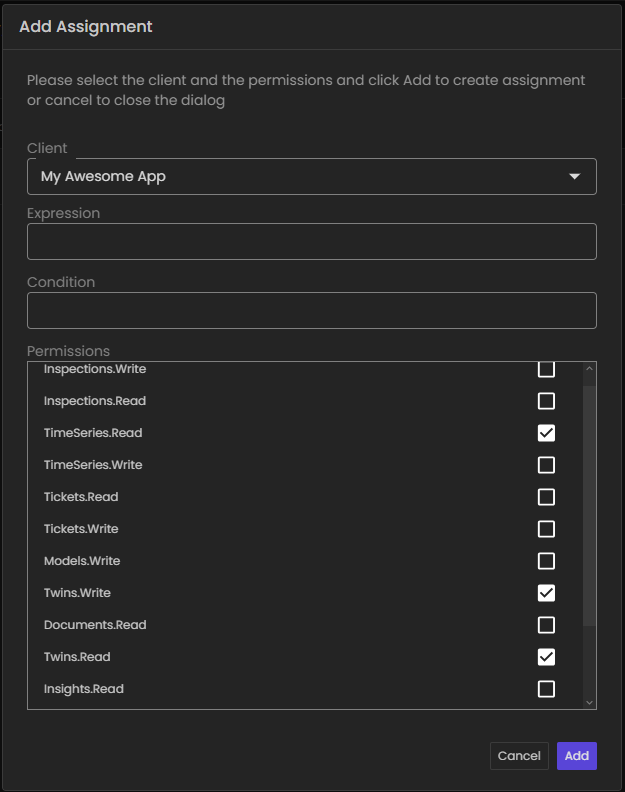
You can select a Location to restrict the credentials from only accessing a specific Location's data.
See Authentication Endpoints for details on how to use your credentials to get an access token.